图形学笔记 -- 高级 D3D10 着色器创作
偶然发现 D3D10 对频谱可视化支持的很好。惊讶。
HLSL10 Workshop.ppt Advanced D3D10 Shader Authoring
Overview
- Review of Direct3D 10 and HLSL 4.0
- The power of the programmable pipeline
- Guided exercises: Visualizer
Some New D3D10 Features
- Completely re-architected from D3D9 for configurability and performance
- Geometry Shader
- Fixed-function lighting and transformation now programmable in HLSL 4.0
- Configurable pipeline
- Flexible shader signatures
- System-generated values
High Level Shader Language
- HLSL is a highly effective language for writing shaders
- Syntax is similar to ‘C’
- Preprocessor defines (#define, #ifdef, etc)
- Basic types (float, int, uint, bool, etc)
- Operators, variables, functions
- Has some important differences
- Builtin variables (float4, matrix, etc)
- Intrinsic functions (mul, normalize, etc)
Overview of the Pipeline
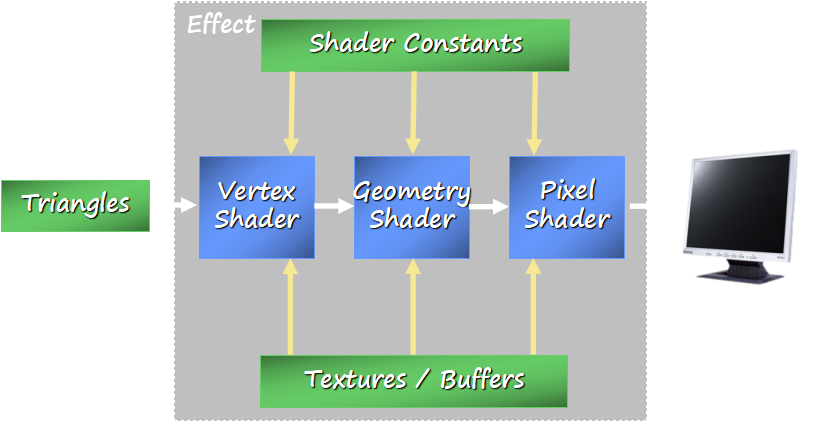
Vertex Shader 4.0
- Input
- Vertices
- Shader Constants
- System Variables ( VertexID )
- Output
- It’s up to you now
- Color, Texture Coordinates, etc
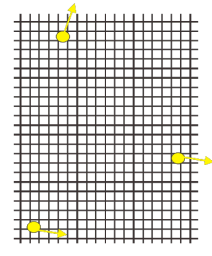
System-generated Values
- Values usable in shaders generated by the D3D10 runtime
- Act exactly like semantics, just tag your variable and off you go
- SV_VertexID
- Provided to the VS
- SV_InstanceID
- Provided to the VS
- SV_PrimitiveID
- Provided to the GS (or PS if there is no GS)
Geometry Shader 4.0
- Input
- Per-primitive data (3 verts for a tri)
- System variables ( PrimitiveID )
- Output
- Points, lines, triangles
- Render target index, clip distances
- Stream data to a buffer on the GPU
- aka stream out
Geometry Shader Restrictions
- Cannot output more than 4096 bytes of information for each input primitive
- Performance is not guaranteed when amplifying at this level
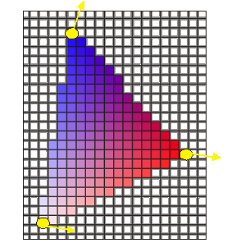
Pixel Shader 4.0
- Input
- Interpolated data from vertex shader
- Output
- Pixel color (with alpha)
- Optional: depth
What This Means: Configurability
- The real power of Direct3D 10 is that there are many ways to accomplish any one task
- More and more tasks can be pushed onto the GPU
- Performance/quality tradeoff can be made on your terms
Guided Exercises: Visualizer
- DirectX 10 - exploitive effects in an audio visualizer
- Roughly based on the GPUSpectrogram sample in available in the DirectX SDK
- A framework to try out HLSL 4.0 plus to show:
- InstanceIDs
- Integer offset samplers
- Geometry amplification
- Debugging using PIX
Guided Exercises - General Directions
- Each effect file guides you through the exercises.
- Breakdancin’ Bob shows up in the comments where there is something to learn or something to do.
- Use Visual Studio to edit the effect and cpp files and to build.
- If you get stuck or need help, raise your hand. A proctor will assist you.
The Basic Idea
- GPUSpectrogram uses the GPU to analyze the raw audio data and evaluate the levels of various frequency ranges

- To check this code out and see the new integer instruction set in action, check out the GPUSpectrogram sample or GPUSpectrogram.fx included in the workshop
Using Spectrogram Data
- We’ll be using shaders to take this data and make a visualizer
- Dancing bars with extra effects
- These techniques directly apply to game scenarios
- The configurability of the pipeline makes the possibilities endless
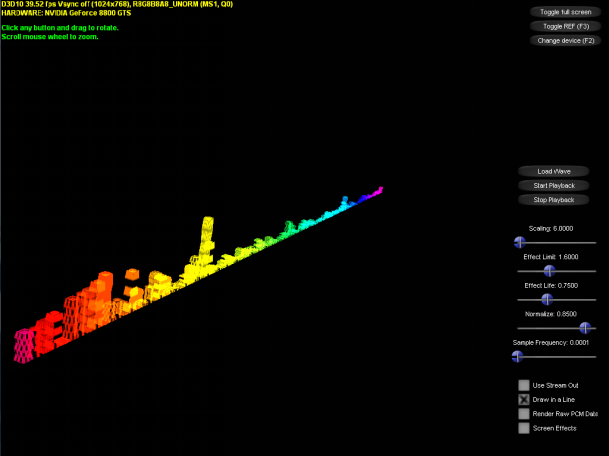
Exercise 1: Drawing the Bars
- Please open Exercise01.sln
- Hint: Bob’s hiding in Exercise01.fx
- Solution:
input.Pos.y *= abs(spectrogram.r)*fScale*g_fScale;
Exercise 2: Performance
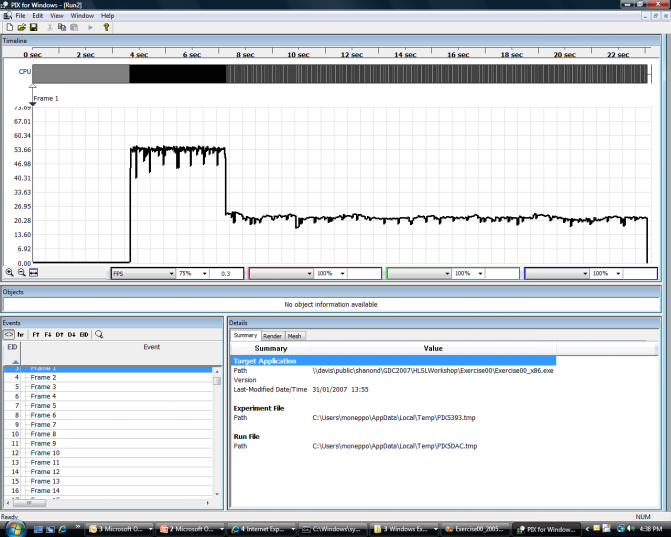
We’ll be using PIX to do performance analysis
- Build Exercise02.sln
- Open PIX (Start->PIX for Windows)
- File -> New Experiment
- Navigate to your built exercise
- Select “A replayable Direct3D call stream, saved to file:”
- Enter a file name ending in “.PIXrun”
- Click “Start Experiment”
- When you exit the application, you’ll have a log of every D3D command that was executed
- We’ve created a perf event called “Draw Bars” that will help you find the actual draw calls for the bars.
- There is a small problem in how it’s rendering that’s causing a loss in performance…
- You might want to look in Exercise02.cpp
- Solution:
pd3dDevice->DrawIndexedInstanced( (UINT)pSubset->IndexCount, g_iNumInstances, 0, (UINT)pSubset->VertexStart, 0 );
Exercise 2: Debugging
Exercise 3: Geometry Amplification
- Please open Exercise3.sln
- Hint: Bob’s hiding in Exercise3.fx
- Solution:
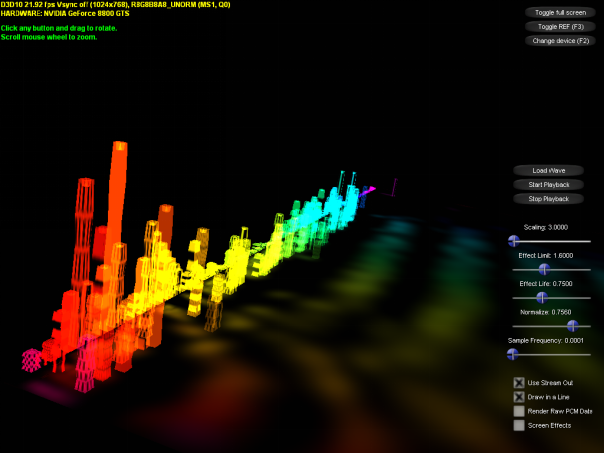
TriStream.Append( output );
Exercise 4: More Performance
- We’ll be using PIX to see how we can tweak rendering parameters to maximize performance
- We’ve made a custom set of variables you can track in PIX so you can see the values of the sliders
- We’ll be seeing how changing these values changes framerate
- Build Exercise04.sln
- Open PIX (Start->PIX for Windows)
- File -> New Experiment
- Navigate to your built exercise
- Click “More Options”
- For CounterSet, select “(Custom)”
- Add all counters under the “Pluging Counters”
- Click “OK”
- Click “Start Experiment”
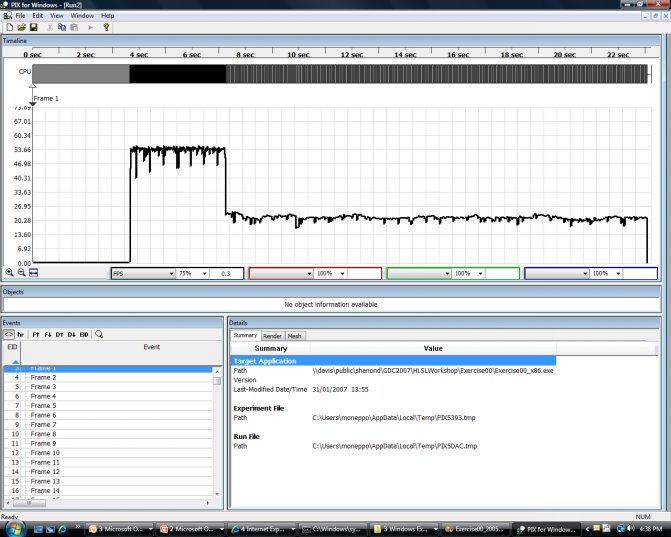
Exercise 4: More Debugging
- You can assign colored lines to each of the slider values along the bottom of the chat
- You can also set the framerate as a graphed line
- You can see the framerate has a direct correlation to many of these sliders (some more than others)
Exercise 5: Floor Effect
- Please open Exercise05.sln
- Hint: Bob’s hiding in Exercise05.fx
- Solution:
tex.x += sin( input.Tex.y*40 )*0.001;
tex.y += sin( input.Tex.y*60 )*0.001;
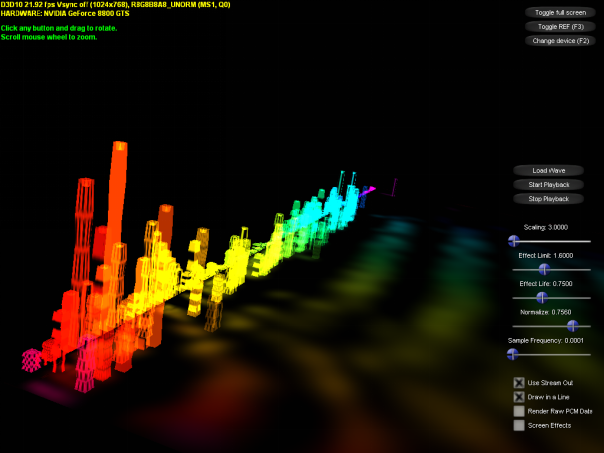
Exercise 6: Screen Effects
- Please open Exercise06.sln
- Hint: Bob’s hiding in Exercise06.fx
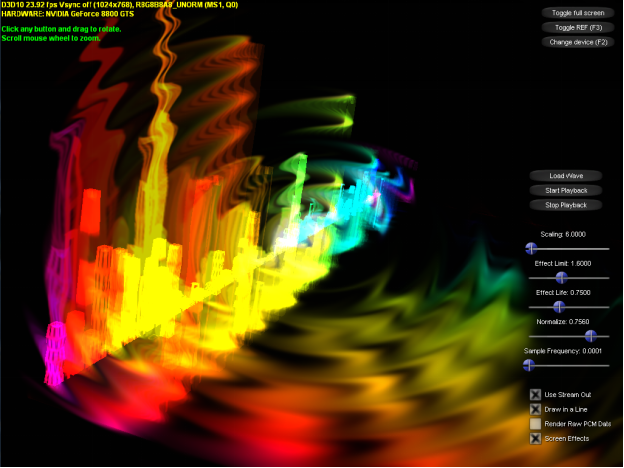
- Solution (One of many!):
float2 tex = input.Tex.xy*2 - 1;
float texMag = length( tex );
tex /= texMag;
float shift = sin(texMag*50.0-g_fTime*3)*g_fElapsedTime*0.3;
float2 offset = float2(tex.y*shift, -tex.x*shift );
tex *= texMag;
tex += offset;
tex = tex/2 + 0.5;
float4 color = BoxFilter( g_samLinearClamp, tex, 3 );
return color * 0.80;
www.xna.com
参考资料快照
 .
.